When you increase the level of game play, things start to happen to you because you’re more engaged in the world. Sometimes they are good, sometimes they are bad. But it’s all subjective and really, you shouldn’t be shaken up too much about it, because, after all, it’s all relative.
The bike-building drama (yes there is such a thing) I experienced this year was quite, interesting. A broken BMC mid-season gave way to reviving a beloved, steel dinosaur which eventually broke. Replacing it meant building and riding a Bianchi Sempre Pro borrowed, then bought from a good and gracious friend in the local cycling community. And after a month without a halo bike to ride, BMC finally resolved it by standing by their products and sent me a replacement frame before anyone else had one. Even the pro team didn’t have it in their hands yet.
I later discovered, it’s one thing to have the frame, and another to actually build it into something rideable without breaking.
The build and the drama
I started tinkering with the bike for a few days before the major job was to start, just so I could prepare myself with the task. I knew it was going to be a challenge because of the new technology and standards, of which, I had little experience – BB86 instead of Italian threaded cartridge bottom bracket, integrated headset instead of the traditional cups, new electronic shifting components.


The Bianchi was a dress rehearsal as the BMC frame too had internal cable routing. But miraculously, that was the most fun and easy part of assembling the bicycle. Everything else, not so much.


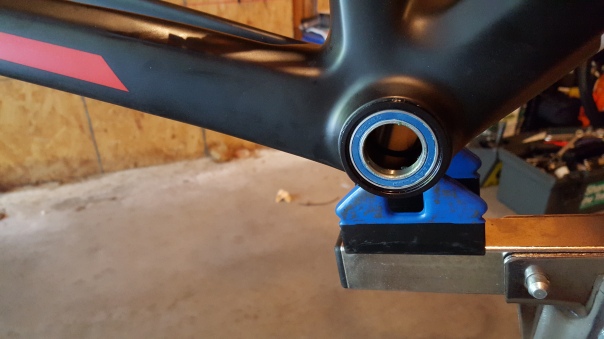
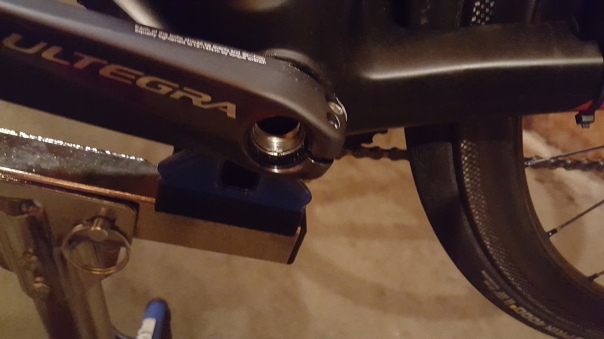
I must say – I despise pressfit bottom bracket systems – with a passion, as you can see in the picture. They are the most troublesome and expensive standard. They wear out, creak and are immensely difficult to install – for an amateur mechanic. The act of installing the bottom bracket should have been easy. It wasn’t. First, it took me 30 minutes to figure out how to use the pressing tool. Then, when I finally figured it out, I destroyed the Shimano bottom bracket because it didn’t align properly. Basically, if you have this bottom bracket with your group, throw it out because it’s plastic and it’s garbage. That’s Shimano trying to skimp on one of the most important components on a bike.
Instead, I got upgraded to a Wheels Manufacturing aluminum anodized BB86, thanks to after-hours service from LL Bean by Matt. I was able to drop-off the bike in the early evening then come back later that night after the work was done. And I was on a deadline to give it its maiden voyage on my Monday night club ride. By the way, this was during Labor Day weekend.


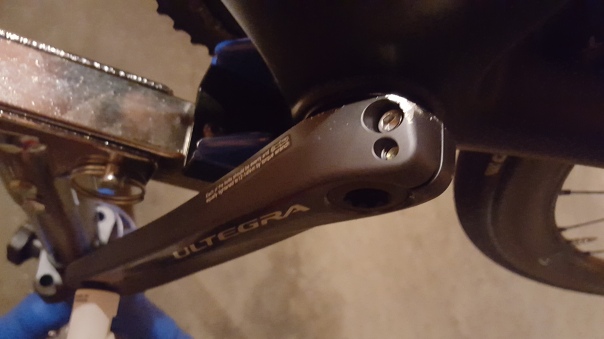
The fixing bolt for the crank was also plastic. And it didn’t work, as I found out. Because when I did get to ride the bike on Labor Day Monday, it too failed and left me stranded. (It’s a good thing I have friends to bail me out.) So I ordered the Dura Ace version, an aluminum part that actually held the torque. I later learned that part of the failure was due to using a too thick spacer that was included in the bottom bracket assembly, reducing the amount of clamping purchase for the left crank.
The Lessons
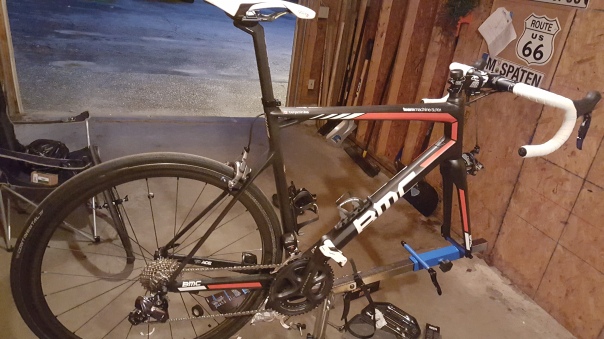
After all the kinks in the build had been eliminated, the bike rode perfectly, though there were times when I soft-pedaled, anticipating the crankarm to fly off the spindle again.
“Too much power…”
…I insisted.
In retrospect, with each of the five builds that I’ve gone through since the 1990’s, I’ve accumulated wisdom and lessons learned.
Lesson 1: “Don’t skimp on tools and assembly.”
Lesson 2: “Let the professionals build your bike.”
Lesson 3: “You rarely get it right the first time.”
If I had followed the second lesson first, I wouldn’t have to learn the third lesson on bike-building. Nor would I have known more about the components that made up the modern bicycle. Nor could I impress myself and my friends that I was more than just a racer.
Stay tuned for part two – The Ride Review.
The Specs
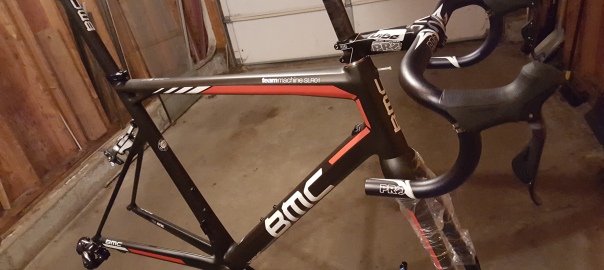
Frame – 2016 BMC Team Machine SLR 01 (58cm);
Cockpit – Shimano PRO Vibe 7S (44cm) handlebar, PRO Vibe UD Carbon (130mm) stem, Cinelli white cork handlebar tape. Stiff and light and for the traditionalist in me;
Components – Shimano Ultegra 11speed, Di2, (53×39, 175mm, 11t-28t);
Pedals – LOOK Keo2 Blade CroMo, 12nm;
Saddle – Selle Italia Flite Kit Carbonio, 143mm, 165 grams;
Wheels – 2014 Reynolds Assault SLG, clincher;
Tires – Vittoria Corsa SR & CX (24mm front, 25mm rear);
Bottle cages – Reynolds carbon.

Nice 🙂
LikeLiked by 1 person
Thank you! 🙂
LikeLike
Looks an absolute treat!
LikeLiked by 1 person
It is! The ride is even better!
LikeLike
Nice Bike I bought the 2015 frame set last September, got a special deal, and put my DI2 Durace groupo on, zipp 303, rides amazing, just in Tenerife with it now blasting up the mountains, and yes let the Pros build your bike, lot less stress and only cost me £60, money well spent
LikeLike